How to Fix a Leaky Faucet Step by Step
By Editorial Team
Last updated: February 10, 2026
Why You Should Fix a Leaky Faucet Now
That constant drip is more than just annoying. A leaking faucet wastes thousands of gallons of water per year, drives up your water bill, and can cause staining and mineral deposits in your sink. The good news is that most faucet leaks are straightforward to fix yourself.
Before You Start
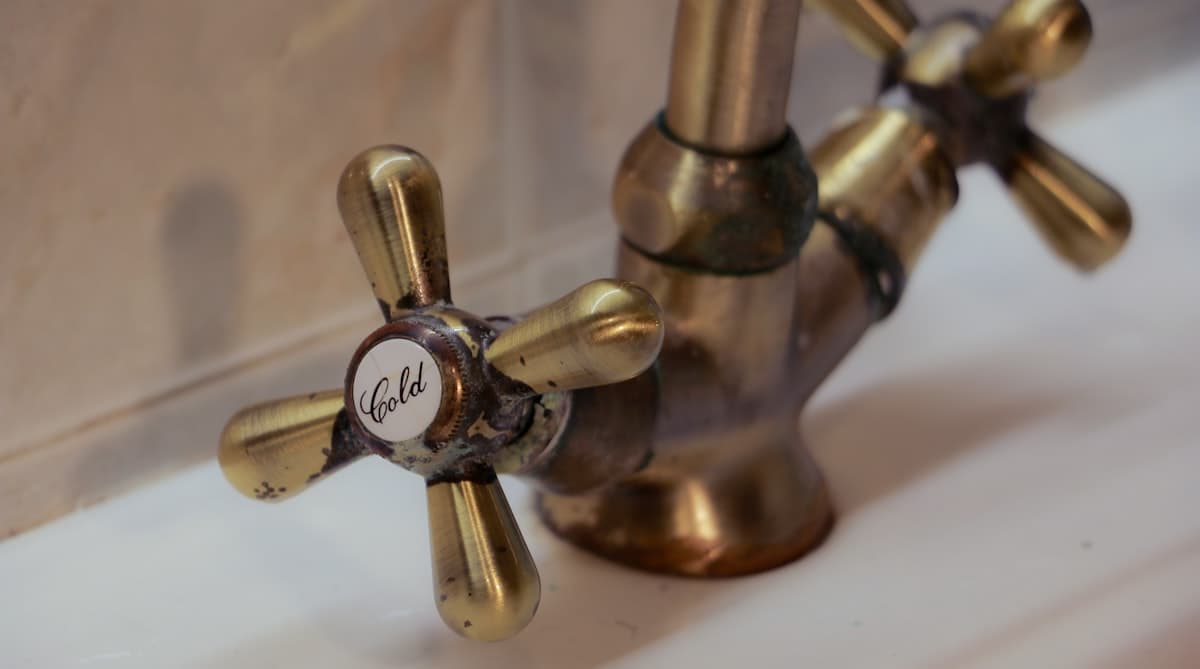
Turn Off the Water
Always turn off the water supply before disassembling a faucet.
- Look under the sink for the hot and cold shut-off valves (typically small oval handles or quarter-turn ball valves).
- Turn both valves clockwise to shut off the water.
- Open the faucet to release remaining pressure and confirm the water is off.
- Plug the drain with a rag or stopper so small parts do not fall in.
Identify Your Faucet Type
There are four common faucet types, and each has a different repair approach:
- Compression faucet — Two handles, one for hot and one for cold. The oldest design. Leaks are usually caused by worn rubber washers.
- Ball faucet — Single handle that moves over a rounded ball mechanism. Common in kitchens. Multiple parts can wear out.
- Cartridge faucet — Single or double handle with a cartridge inside. The cartridge slides in and out.
- Ceramic disc faucet — Single handle with a wide cylinder inside. The most modern and durable type.
Fixing a Compression Faucet
Compression faucets are the most common source of drips because they rely on rubber washers that wear out over time.
- Remove the decorative cap on the handle (pry off with a flathead screwdriver).
- Remove the screw underneath and pull off the handle.
- Use a wrench to unscrew the packing nut, then pull out the stem.
- At the bottom of the stem, you will find a rubber washer held by a brass screw.
- Remove the screw and the old washer.
- Take the old washer to a hardware store to match the exact size.
- Install the new washer, replace the brass screw, and reassemble in reverse order.
- If the faucet still leaks, also replace the O-ring on the stem (the thin rubber ring around the stem body).
Fixing a Ball Faucet
Ball faucets have multiple internal parts that can fail. The easiest approach is to buy a complete ball faucet repair kit (around $15-$20) for your model.
- Remove the handle set screw (usually an Allen screw under the handle).
- Pull off the handle.
- Use pliers to remove the cap and collar.
- Use the special tool included in the repair kit to loosen the faucet cam.
- Remove the cam, cam washer, and the ball.
- Reach in with needle-nose pliers and remove the inlet seals (rubber seats) and springs.
- Install new springs, inlet seals, and the cam washer from the repair kit.
- Reassemble in reverse order, taking care to align the tab on the cam with the notch in the faucet body.
Fixing a Cartridge Faucet
- Remove the handle (pry off decorative cap, remove screw, pull off handle).
- Remove the retaining clip — a small U-shaped metal clip holding the cartridge in place. Pull it out with pliers.
- Pull the cartridge straight up and out. If it is stuck, use a cartridge puller tool (available at hardware stores).
- Note the orientation of the cartridge (or take a photo) so the new one goes in the same way.
- Take the old cartridge to the hardware store to get an exact replacement.
- Insert the new cartridge in the same orientation, replace the retaining clip, and reassemble.
Tip: If you get hot and cold reversed after reassembly, pull the cartridge out and rotate it 180 degrees.
Fixing a Ceramic Disc Faucet
Ceramic disc faucets rarely leak, but when they do, it is usually because the seals at the bottom of the disc cylinder have worn out.
- Remove the handle and the escutcheon cap (the decorative dome under the handle).
- Unscrew the disc cylinder mounting screws and lift out the cylinder.
- On the bottom of the cylinder, you will find rubber seals in the inlet ports.
- Pry out the old seals and clean the cylinder openings with white vinegar to remove mineral deposits.
- Install new seals (available in a ceramic disc seal kit).
- Reassemble and turn the water back on slowly. Opening the water too quickly can crack the ceramic disc.
When to Replace Instead of Repair
Sometimes a repair is not worth the effort:
- The faucet is very old and corroded
- Replacement parts are no longer available for your model
- The faucet body itself is cracked or damaged
- You have repaired the same faucet multiple times
- You want to upgrade to a more water-efficient model
A new kitchen faucet costs $100-$300 for a quality model, and most homeowners can install one in about an hour.
Tools Summary
| Tool | Purpose |
|---|---|
| Adjustable wrench | Removing packing nuts and fittings |
| Phillips and flathead screwdrivers | Removing handle screws and caps |
| Allen wrench set | Removing set screws on single-handle faucets |
| Needle-nose pliers | Removing small parts (springs, seals, clips) |
| Plumber's grease | Lubricating O-rings and moving parts during reassembly |
Editorial note: This guide was written and reviewed by our editorial team. Cost estimates reflect national averages and may vary by region. Read our editorial standards.
Frequently Asked Questions
Related Articles
Water Heater Troubleshooting: Fix Common Problems Yourself
Diagnose and fix common water heater problems including no hot water, strange noises, leaks, and rusty water. Covers both tank and tankless units.
How to Fix a Running Toilet: 5 Easy DIY Fixes
Stop a running toilet with these simple DIY fixes. Learn how to diagnose and repair a faulty flapper, fill valve, float, and overflow tube step by step.
How to Unclog a Drain - DIY Tips
Learn simple steps to unclog any drain at home. Step-by-step guide with tools list and when to call a professional plumber.