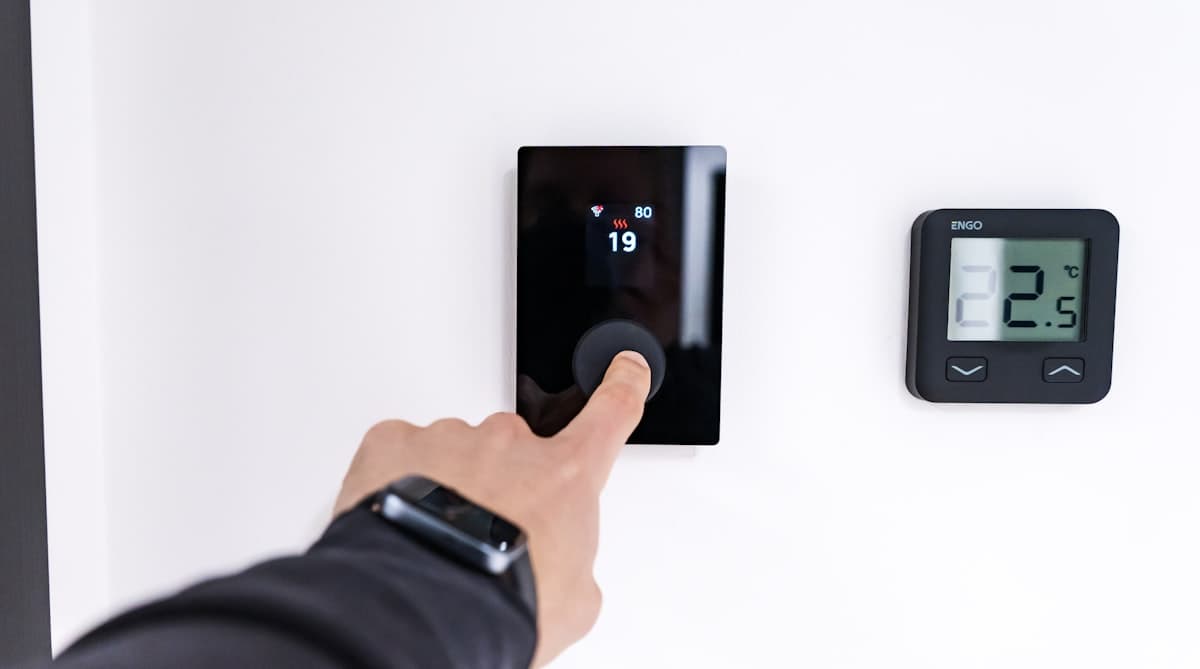
How to Install a Smart Thermostat: Step-by-Step Guide
By Editorial Team
Last updated: February 11, 2026
Why Upgrade to a Smart Thermostat
Your thermostat controls nearly half of your home's total energy bill. A basic programmable thermostat helps in theory, but most homeowners override the schedule so often it might as well not exist.
Smart thermostats solve this through automation. According to Energy Star, certified models save 10 to 15 percent on heating and about 15 percent on cooling. For a household spending $2,000 per year on energy, that translates to $200 to $300 in annual savings — paying for the thermostat within one to two years.
The benefits go beyond energy savings:
- Remote control. Adjust the temperature from your phone at work, on vacation, or from bed.
- Learning and scheduling. Models like the Google Nest Learning Thermostat observe your habits and build a schedule automatically.
- Occupancy detection. Built-in sensors or phone-based geofencing shift to energy-saving mode when the house is empty.
- Energy reports. Monthly usage breakdowns show exactly when and why your system ran.
- Smart home integration. Works with Alexa, Google Assistant, and Siri.
If you are unsure how much energy your current setup is wasting, try our energy savings quiz for a personalized estimate before you upgrade.
Choosing the Right Thermostat
| Feature | Nest Learning (4th Gen) | Nest Thermostat | Ecobee Premium | Honeywell T9 |
|---|---|---|---|---|
| Price | ~$280 | ~$130 | ~$250 | ~$170 |
| Learning schedule | Yes | No | No | No |
| Room sensors included | 1 | No | 1 | No (sold separately) |
| C wire required | Yes (adapter included) | No | No (adapter included) | Yes |
| Voice assistant built-in | No | No | Alexa | No |
Google Nest Learning Thermostat (4th Gen), around $280. The original smart thermostat. It learns your schedule within a week, supports Matter, and includes a room sensor. Requires a C wire or the included power connector adapter.
Google Nest Thermostat, around $130. The budget Nest option. No auto-learning, but it offers app-based scheduling and remote control. Works without a C wire using battery backup.
Ecobee Smart Thermostat Premium, around $250. Ships with a SmartSensor for a second room and a built-in Alexa speaker. Includes a Power Extender Kit for homes without a C wire.
Honeywell Home T9, around $170. A reliable mid-range choice with touchscreen interface and optional room sensors. Requires a C wire.
Check Your Wiring Compatibility
Before buying, you need to know what wires are behind your current thermostat. Pull the faceplate off (with the breaker off) and identify the wires connected to the terminal block.
Standard Thermostat Wires
- R (Red) — 24V power. Sometimes split into Rh (heating) and Rc (cooling).
- W (White) — Heating (furnace or boiler).
- Y (Yellow) — Cooling (air conditioner compressor).
- G (Green) — Fan blower.
- C (Blue, typically) — Common wire. Completes the 24V circuit for continuous thermostat power. This is the wire most often missing from older homes.
- O/B (Orange) — Heat pump reversing valve. O energizes in cooling mode (most brands). B energizes in heating mode (Rheem, Ruud).
If you have R, W, Y, G, and C, you are compatible with every major smart thermostat. If you have only two wires (common with older heating-only systems), your options are limited to models that support two-wire setups.
No C Wire? Here Are Your Options
- Use the included adapter. Ecobee's Power Extender Kit and the Nest Learning Thermostat's power connector install at the furnace control board and repurpose an existing wire.
- Battery backup. The standard Nest Thermostat charges its battery during HVAC run cycles — no C wire needed.
- Run a new wire. If you have access through an unfinished basement or attic, running a new 18/5 thermostat cable is the most reliable long-term fix.
Not sure your system is the right size for your home? Use our HVAC sizing calculator to verify your equipment matches your square footage and climate zone.
Tools Needed
- Phillips-head screwdriver
- Drill with 3/16-inch bit (only if new screw holes are needed)
- Small level (many base plates include a built-in bubble level)
- Smartphone for app-guided setup
- Painter's tape and pen as backup wire labels
You do not need wire strippers or a voltage tester. Thermostat wires connect to screw or push-in terminals at safe 24V low voltage.
Step 1: Turn Off Power at the Breaker
This is the most critical safety step. Find the breaker labeled "HVAC," "Furnace," or "AC" and switch it off. Some homes have separate breakers for the furnace and air conditioner — turn off both. Confirm power is off by trying to run the system from the old thermostat.
Do not skip this step. Touching thermostat wires together while powered can blow the low-voltage fuse on your furnace control board — a $5 part that requires opening the furnace to replace.
Step 2: Remove the Old Thermostat and Photograph the Wiring
Pull the faceplate off the wall plate (most snap off or have a single screw). Before disconnecting anything, take a clear photo of the wiring showing wire colors and the terminal letters they connect to. Note any wires present in the bundle but not connected — one may be an unused C wire.
Step 3: Label Each Wire with the Included Stickers
Every smart thermostat ships with letter stickers (R, W, Y, G, C, O/B). Wrap the matching sticker around each wire, then disconnect it from the terminal. After all wires are labeled and free, pull them forward so they do not fall into the wall. Wrapping them around a pencil laid across the hole works well.
If your old thermostat uses non-standard labels (some older Honeywell models use "W1" instead of "W"), check the new thermostat's installation guide for the correct mapping.
Step 4: Install the New Base Plate
Remove the old base plate. Thread labeled wires through the center opening of the new base plate. Hold it against the wall and check whether existing screw holes align. If not, mark new positions with a pencil. Level the plate, then secure it with the included screws and drywall anchors. Pre-drill if mounting into plaster or masonry.
Step 5: Connect Wires to Matching Terminals
The new base plate terminals are labeled with standard letters: R, W, Y, G, C, O/B. Insert each labeled wire into its matching terminal. For push-in connectors (Ecobee, Nest), press the release button, insert the wire, and release. For screw terminals (Honeywell), loosen the screw, wrap bare wire clockwise, and tighten.
Give each wire a gentle tug to confirm it is seated. A loose connection is the most common cause of "no power" problems after installation. Tuck excess wire behind the base plate, making sure no bare ends touch each other.
Heat pump note: Pay attention to the O/B wire. Most heat pumps use O (energize on cool). Some Rheem and Ruud units use B (energize on heat). The app will ask which mode during setup — choosing wrong reverses heating and cooling.
Step 6: Attach the Thermostat to the Base Plate
Align the display unit with the base plate and press gently. Most models snap on magnetically or click into place. If it does not seat smoothly, check that no wires are pinched behind the display.
Step 7: Restore Power and Complete App-Guided Setup
Turn the HVAC breaker(s) back on. The thermostat should power up within seconds. Download the app (Google Home for Nest, Ecobee, or Honeywell Home) and follow the guided setup, which takes 10 to 15 minutes and covers Wi-Fi connection, system type identification, wiring verification, a heating/cooling test cycle, and initial schedule setup.
Configuration Tips for Maximum Savings
Scheduling
Set a schedule even if your thermostat learns automatically — review and refine it after the first week. A solid baseline: 68 to 70 degrees when home in winter (75 to 78 in summer), 62 degrees when away in winter (82 to 85 in summer), and 65 degrees overnight in winter.
Geofencing
Geofencing uses phone location to detect when everyone leaves and switches to eco mode automatically. Enable it in app settings and make sure all household members install the app.
Eco Temperatures
Set fallback temperatures for an unoccupied house: 60 to 62 degrees for heat, 82 to 85 degrees for cooling. Nest calls these "Eco Temperatures," Ecobee uses "Smart Home/Away," and Honeywell calls it "Geofencing" mode.
Energy Reports
All three brands provide monthly reports showing runtime, usage patterns, and comparisons to similar homes. If you notice the system running constantly during moderate weather, your equipment may be undersized — our HVAC sizing calculator can help you check.
Troubleshooting Common Installation Issues
No Power After Installation
Almost always a wiring problem. Verify the breaker is on. Remove the thermostat from the base plate and check that every wire — especially the R wire — is fully seated in its terminal. Then check the furnace control board for a blown 3-amp or 5-amp fuse (a small automotive-style fuse). A blown fuse means wires were shorted during installation; replace it and recheck your connections.
System Short Cycling
If the system turns on and off every few minutes, the most likely causes are an incorrect system type setting (conventional selected instead of heat pump, or vice versa) or insufficient power from a missing C wire. Re-run the app setup to confirm system type, or install the C wire adapter.
Heat Pump Blowing Cold in Heat Mode (or Vice Versa)
The O/B wire setting is reversed. Open the thermostat app, find the O/B configuration, and switch from O to B or B to O. This single setting controls the reversing valve direction.
Wi-Fi Will Not Connect
Smart thermostats connect to 2.4 GHz networks only. If your router broadcasts a combined 2.4/5 GHz network, the thermostat may fail to connect. Temporarily create a separate 2.4 GHz SSID in your router settings.
When to Call an HVAC Technician
Most installations are straightforward DIY projects. Call a professional if:
- No C wire and no adapter option. If the included adapter does not work with your furnace control board and you cannot run a new wire yourself, a technician can run new thermostat cable or install an external 24V transformer.
- High-voltage systems (120V/240V). Electric baseboard heaters use line voltage. Standard smart thermostats are low voltage only. Connecting one to high-voltage wiring will destroy it and may cause a fire. You need a line-voltage smart thermostat (Mysa or Sinope) or a system conversion.
- Heat pump with auxiliary heat confusion. If your old thermostat has wires on terminals labeled W2, AUX, E, or L and you are unsure how they map, have a technician verify the wiring. Incorrect aux heat wiring can leave expensive backup heat strips running as the primary heat source.
- Multi-zone or multi-stage systems. Homes with W1/W2, Y1/Y2, or zone damper wiring need precise wire identification. A technician can map these in minutes.
Final Thoughts
A smart thermostat costs $130 to $280 and pays for itself within two years through energy savings. The installation takes 30 to 60 minutes: turn off power, label and swap the wires, mount the base plate, and follow the app. If your wiring is compatible and you follow the steps above, there is no reason to pay $100 to $200 for professional installation.
For a complete picture of your HVAC efficiency, pair this upgrade with our HVAC sizing calculator and the energy savings quiz to find additional ways to lower your energy bills.
Editorial note: This guide was written and reviewed by our editorial team. Cost estimates reflect national averages and may vary by region. Read our editorial standards.
Frequently Asked Questions
Related Articles
AC Not Working? Troubleshooting Guide Before You Call a Pro
Air conditioner not cooling? Walk through these DIY troubleshooting steps to diagnose and fix common AC problems before paying for a service call.
HVAC Maintenance Checklist: Seasonal Guide for Homeowners
Keep your heating and cooling system running efficiently with this seasonal HVAC maintenance checklist. Covers filter changes, coil cleaning, ductwork inspection, and more.