How to Paint a Room Like a Pro: Complete Step-by-Step Guide
By Editorial Team
Last updated: February 10, 2026
Why Painting Is the Best DIY Home Upgrade
A fresh coat of paint transforms a room faster and more affordably than almost any other improvement. The materials for a standard bedroom cost $50 to $150, and the entire project can be completed in a weekend. The key to a professional-looking result is not talent — it is preparation and technique.
Step 1: Prepare the Room
Preparation accounts for about 70 percent of the work and 90 percent of the final quality. Do not rush this stage.
Clear and Protect
- Move all furniture out of the room if possible. If some pieces are too large, push them to the center and cover them completely with plastic drop cloths.
- Remove outlet covers, light switch plates, and any wall-mounted hardware (curtain rods, picture hooks, shelves). Place screws in a small bag taped to the item so you do not lose them.
- Lay canvas drop cloths over the floor. Canvas is better than plastic because it absorbs drips and does not slip underfoot. Overlap seams by at least 6 inches.
Repair the Walls
- Walk the room and inspect every wall for nail holes, dents, cracks, and peeling paint.
- Fill small holes and dents with lightweight spackle using a putty knife. For cracks, apply a thin layer of spackle and press fiberglass mesh tape over it, then apply a second thin layer on top.
- Let the spackle dry completely (usually 1 to 2 hours), then sand smooth with 120-grit sandpaper.
- Wipe the walls with a damp cloth or tack cloth to remove all dust. Paint will not adhere well to dusty surfaces.
Tape
- Apply painter's tape along the edges of trim, door frames, window frames, and the ceiling line. Press the tape firmly with a putty knife or the edge of a credit card to seal it against the wall. This prevents paint from bleeding underneath.
Step 2: Prime
Not every paint job requires a separate primer, but you should prime if:
- You are covering a dark color with a lighter one.
- The walls have stains (water marks, smoke, crayon).
- You have made drywall repairs with spackle.
- You are painting new drywall that has never been painted.
Apply primer with the same technique you will use for the topcoat (cutting in first, then rolling). Let it dry fully before painting — at least 1 to 2 hours for latex primer.
If the existing paint is in good condition and the new color is similar, a high-quality paint-and-primer combination product is a reasonable shortcut.
Step 3: Cut In the Edges
Cutting in means painting a 2- to 3-inch border around all edges where a roller cannot reach — along the ceiling, corners, around trim, and around outlets.
- Use a high-quality 2- to 2.5-inch angled brush.
- Dip the brush about one-third into the paint and tap off the excess (do not wipe it on the rim of the can).
- Start about half an inch from the edge and gently push the paint line toward the tape or ceiling, letting the bristles fan out. Use long, steady strokes.
- Work in 3- to 4-foot sections so the cut-in edge stays wet until you roll up to it (this prevents visible lap marks where the brush and roller overlap).
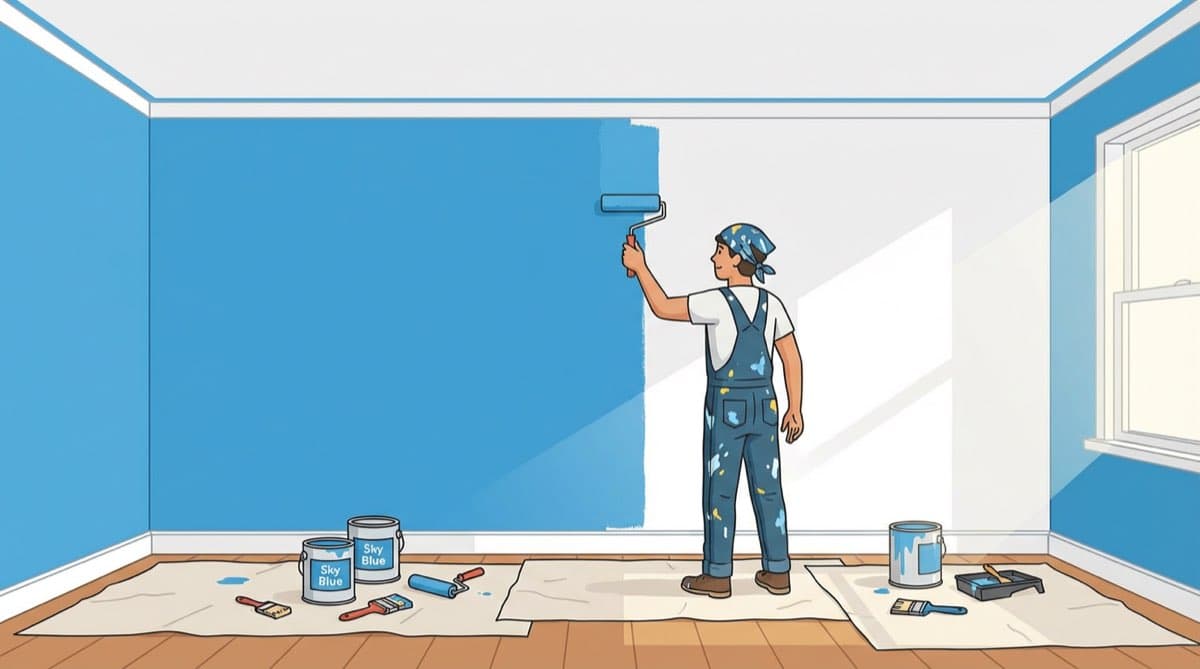
Step 4: Roll the Walls
- Use a 9-inch roller frame with a 3/8-inch nap roller cover for smooth walls, or a 1/2-inch nap for textured walls.
- Pour paint into a roller tray. Roll the cover through the paint and then roll it back and forth on the tray's ramp until the cover is evenly loaded — it should be full but not dripping.
- Start near a corner and roll a large W or M shape on the wall, roughly 3 feet wide and 4 feet tall.
- Without reloading the roller, fill in the area with even, parallel strokes, working from top to bottom.
- Overlap each pass slightly to avoid roller marks.
- Work in sections, always maintaining a wet edge — do not let a section dry before blending into the next one.
Step 5: Apply the Second Coat
One coat is rarely enough. A second coat provides full, even coverage and the true depth of color.
- Wait the recommended drying time (2 to 4 hours for latex).
- Repeat the cutting-in and rolling process exactly as you did for the first coat.
- On the second coat, roll in the opposite direction from the first coat. If you rolled vertically the first time, roll at a slight angle the second time. This helps fill any thin spots.
Step 6: Paint the Trim
If you are also painting trim (baseboards, door frames, window casings), do it after the walls have dried.
- Apply painter's tape along the wall edge where it meets the trim.
- Use a 1.5- to 2-inch angled brush.
- Apply trim paint (typically semi-gloss or satin) in thin, even coats. Two coats usually look best on trim.
- Remove the tape while the final coat is still slightly tacky for the cleanest line.
Step 7: Clean Up
- Remove all painter's tape by pulling it at a 45-degree angle away from the painted surface.
- Replace outlet covers, switch plates, and hardware.
- Clean brushes and rollers immediately. For latex paint, warm soapy water does the job. For oil-based paint, use mineral spirits.
- Seal leftover paint cans tightly and store them in a cool, dry place for future touch-ups. Write the room name and date on the lid.
Common Mistakes to Avoid
- Skipping prep work — Tape and spackle make the difference between amateur and professional results.
- Loading too much paint on the roller — Excess paint causes drips and an uneven texture.
- Painting in poor lighting — Set up extra lamps so you can see thin spots and drips as they happen.
- Removing tape too late — Peeling off dried tape can pull paint off the wall with it.
With patience and attention to detail, there is no reason a DIY paint job cannot look as good as a professional one.
Editorial note: This guide was written and reviewed by our editorial team. Cost estimates reflect national averages and may vary by region. Read our editorial standards.
Frequently Asked Questions
Related Articles
How Much Does a Kitchen Remodel Cost in 2026?
Complete kitchen remodel cost breakdown by project scope. Learn average costs for countertops, cabinets, appliances, flooring, and labor with budgeting tips.
How to Patch and Repair Drywall Like a Pro
Fix holes, dents, and cracks in drywall yourself. Step-by-step guide covering nail pops, small holes, medium holes, and large drywall repairs with a smooth finish.