DIY Home Energy Audit: Find Where Your Home Is Wasting Energy
By Editorial Team
Last updated: February 18, 2026
Why Conduct a Home Energy Audit
If your utility bills feel higher than they should be, or if certain rooms are always too hot or too cold, your home is likely wasting energy somewhere. A home energy audit is a systematic inspection that identifies where conditioned air is escaping, where insulation is lacking, and which appliances or systems are running inefficiently.
You do not need to hire a professional to get started. A thorough DIY audit can reveal the most common problems and point you toward the improvements that will save the most money.
Step 1: Check Your Insulation
Insulation is your home's thermal blanket. If it is thin, uneven, or missing in key areas, your heating and cooling system has to work much harder.
Attic Insulation
The attic is the most important area to check because heat rises and escapes through the roof.
- Go into the attic with a flashlight and a tape measure.
- Measure the depth of the insulation. For most climates, the Department of Energy recommends R-38 to R-60 in the attic, which translates to roughly 10 to 16 inches of fiberglass batts or 8 to 13 inches of blown cellulose.
- Look for areas where insulation is thin, compressed, or missing entirely — especially around attic hatches, recessed lighting fixtures, and where pipes or wires penetrate the attic floor.
Walls and Basement
Wall insulation is harder to inspect without removing drywall. One simple test: on a cold day, touch an interior wall with your hand. If it feels cold, insulation may be inadequate. For basements and crawl spaces, look for exposed fiberglass batts that have fallen down or are missing between floor joists.
Step 2: Inspect Windows and Doors for Air Leaks
Air leaks around windows and doors are among the easiest and cheapest problems to fix, and they make a noticeable difference in comfort.
- The incense test: On a windy day, hold a lit stick of incense near the edges of each window and exterior door. Watch the smoke. If it flickers, streams horizontally, or gets sucked toward the window, you have an air leak.
- The hand test: Slowly move your hand around window frames, door frames, and along baseboards on exterior walls. You can often feel cold air infiltrating.
- Check weatherstripping on all exterior doors. If you can see daylight around the edges of a closed door, the weatherstripping needs to be replaced. A door sweep on the bottom of the door is equally important.
- Inspect window caulking. If the exterior caulk around windows is cracked, peeling, or missing, air and water can penetrate. Recaulking costs a few dollars per window and takes minutes.
Step 3: Audit Appliance Efficiency
Older appliances can be silent energy hogs, especially refrigerators, water heaters, and clothes dryers.
- Check the age and energy rating of your major appliances. Refrigerators made before 2001 use roughly twice the electricity of current Energy Star models.
- Your water heater accounts for about 18 percent of your home's energy use. If it is more than 10 years old, compare its energy factor (EF) rating to current models. A modern heat pump water heater can cut water heating costs by 50 percent or more.
- Use a plug-in electricity meter (also called a kill-a-watt meter, about $25) to measure the actual consumption of individual appliances. Plug the meter into the outlet, plug the appliance into the meter, and let it run for 24 hours to see real usage.
Step 4: Check HVAC Filters and Ductwork
A dirty HVAC filter can increase energy consumption by 5 to 15 percent. Pull your filter and hold it up to a light. If you cannot see light through it, it is overdue for replacement.
While you are at it, inspect any exposed ductwork in basements, attics, and crawl spaces for the following:
- Disconnected joints where conditioned air is blowing into unconditioned space.
- Gaps and holes at connections or where ducts pass through walls.
- Lack of insulation on ducts running through unconditioned spaces like attics and crawl spaces.
Leaky ducts can waste 20 to 30 percent of your heating and cooling energy. Seal joints with mastic sealant or foil-faced HVAC tape, and insulate ducts in unconditioned spaces with R-6 or R-8 duct wrap.
Step 5: Review Your Utility Bills for Trends
Collect the past 12 months of electricity and gas bills. Look for patterns.
- Compare usage (in kWh or therms) month to month and year over year. A steady upward trend that does not correlate with weather changes may indicate a declining appliance or worsening insulation.
- Note your peak usage months. If summer electricity spikes are growing larger each year, your AC may be losing efficiency or your home's thermal envelope is getting worse.
- Many utility companies provide online dashboards that compare your usage to similar homes in your area. If you are significantly above average, that is a clear signal to investigate.
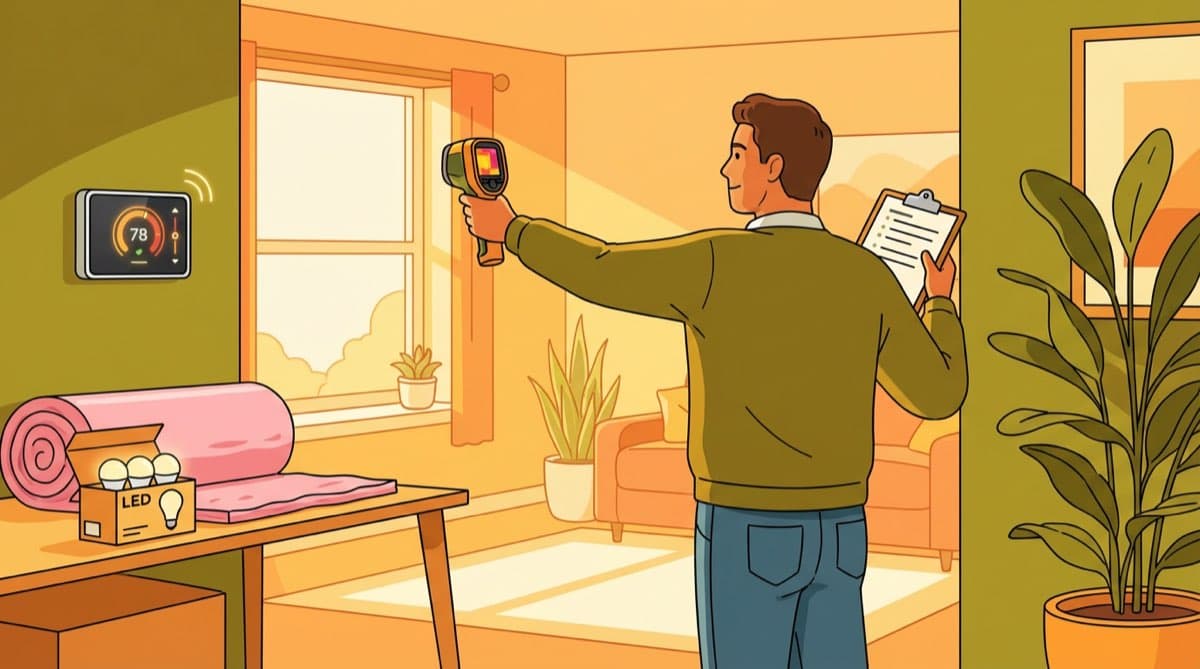
Step 6: Use a Thermal Leak Detector
For about $30 to $50, you can buy a handheld infrared thermal leak detector. This device measures surface temperatures and alerts you when it detects a significant temperature difference, indicating a draft or insulation gap.
- Slowly scan the device across walls, ceilings, windows, doors, and electrical outlets on exterior walls.
- Cold spots on interior walls during winter (or hot spots during summer) indicate air infiltration or missing insulation.
- Pay particular attention to areas around recessed lights, electrical outlets, and plumbing penetrations on exterior walls.
Prioritize Your Fixes
After completing your audit, rank the issues by cost-effectiveness:
- Seal air leaks — Caulk and weatherstripping cost $5 to $30 and often save $100+ per year.
- Replace HVAC filters — $5 to $20 per filter, immediate efficiency gain.
- Add attic insulation — $500 to $1,500 for a DIY blown-in project, often pays back in 2 to 3 years.
- Upgrade old appliances — Larger upfront cost, but rebates and energy savings close the gap over time.
A DIY energy audit is a few hours of work that can point you toward hundreds of dollars in annual savings. Start with the low-cost fixes and tackle the larger projects as your budget allows.
Editorial note: This guide was written and reviewed by our editorial team. Cost estimates reflect national averages and may vary by region. Read our editorial standards.
Frequently Asked Questions
Related Articles
Window Replacement Cost: What to Expect in 2026
How much does window replacement cost? Complete guide to window prices by type, frame material, and installation method with tips to save money.
How to Install a Ceiling Fan Step by Step
Learn how to install a ceiling fan yourself with this complete guide. Covers wiring, mounting, balancing, and when to call an electrician.
Garage Door Repair: Troubleshooting Common Problems
Garage door won't open? Diagnose and fix common garage door problems including opener issues, broken springs, misaligned sensors, and noisy operation.